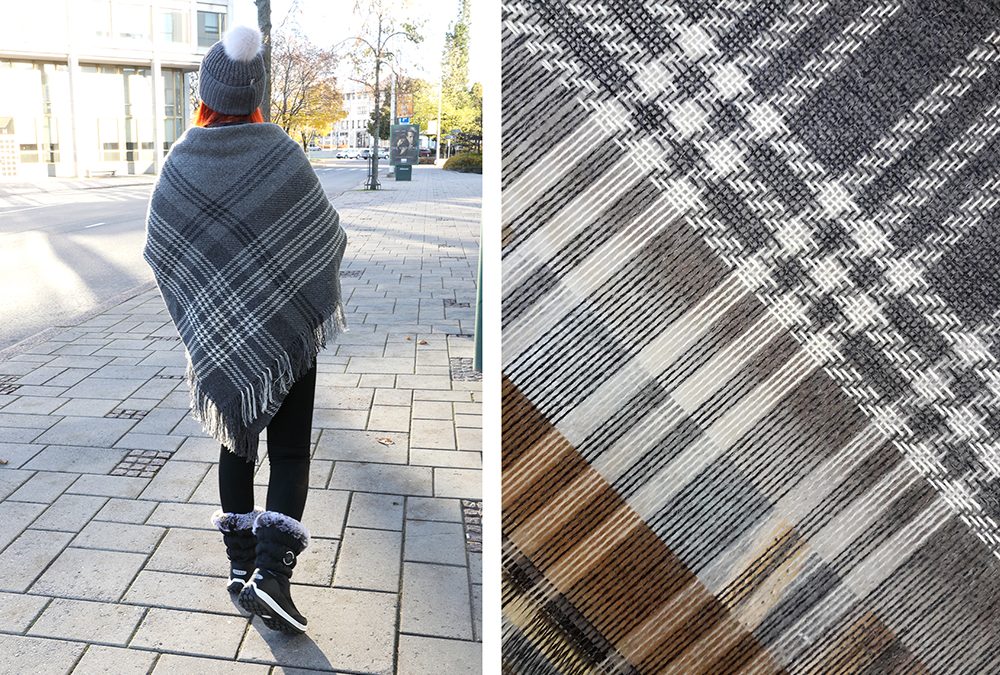
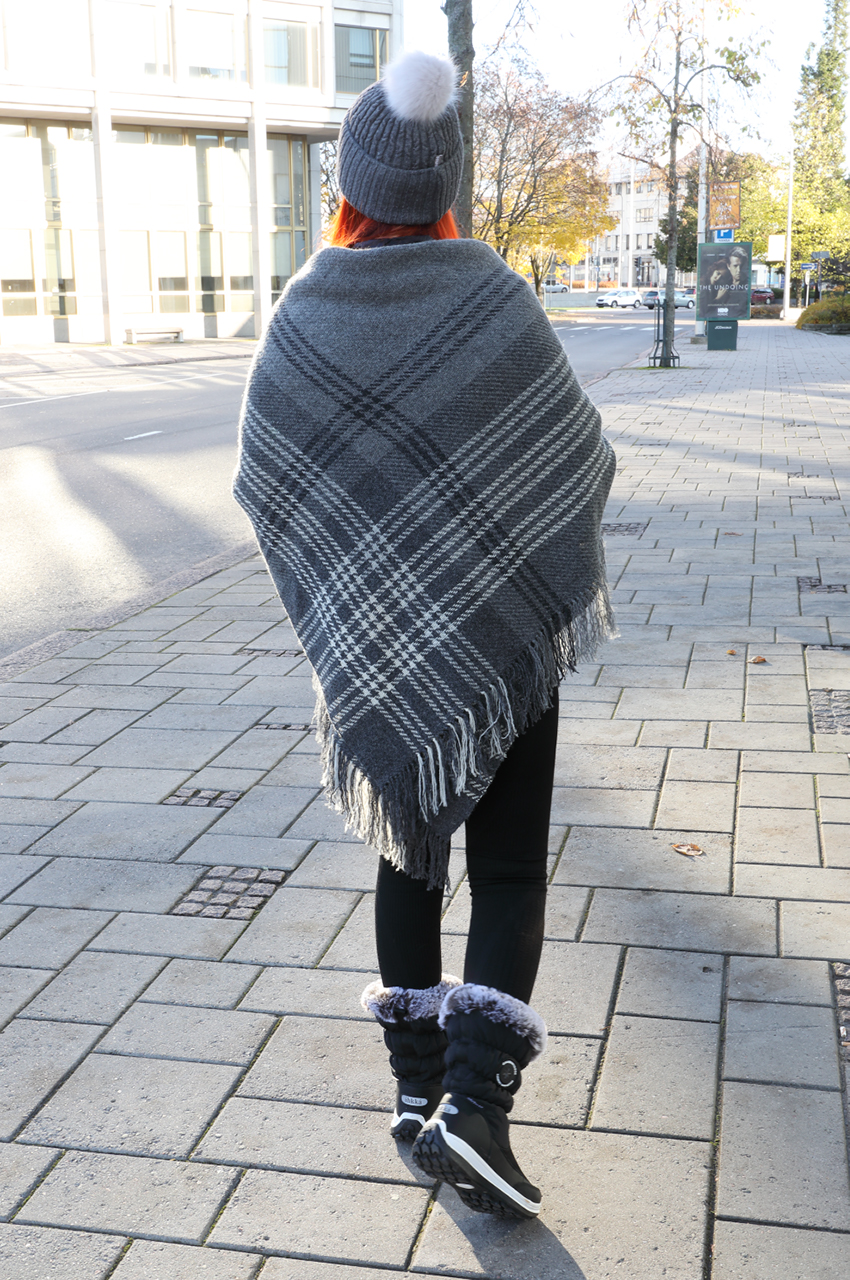
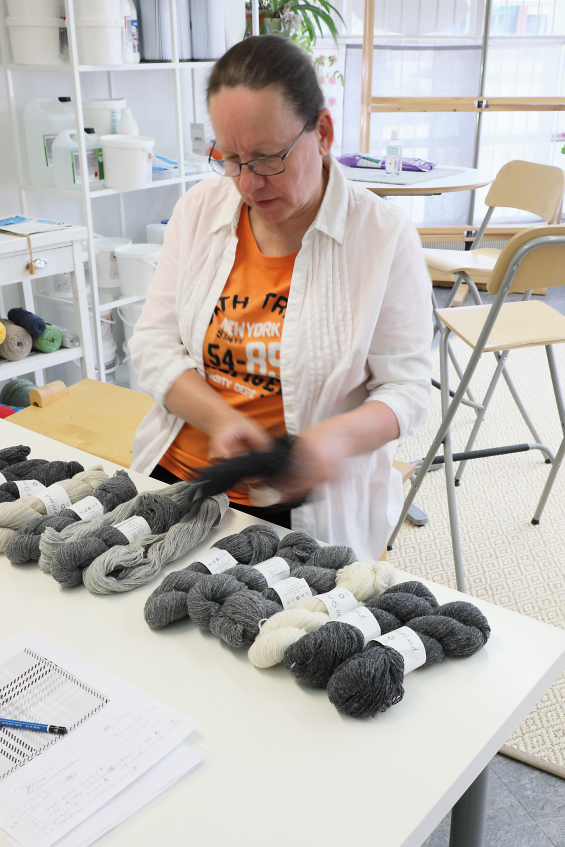
We were looking for yarns for the scarf that would have the look and feel of handspun yarns. We left out the well-known weaving yarns and looked online for suitable yarns from the wide selection of craft yarns. We ended up with a knitting yarn, in which the single strands were visible, and you could see some loose fibers on the rough surface of the yarn. There were enough different shades of grey available in the yarn to fit our idea of colour composition. Besides, the yarn was organic and had been used for weaving as well. The yarn was very well suited to our design.
The scarf fabric is loose, and therefore comfortably light. The rough yarn stayed well in place in the fabric during the weaving process and finishing. Woven wool fabric softens and becomes denser in the wash, so wash the new scarf gently after weaving by hand. The surface of the fabric is soft and smooth after washing and steaming.
Technical experiment
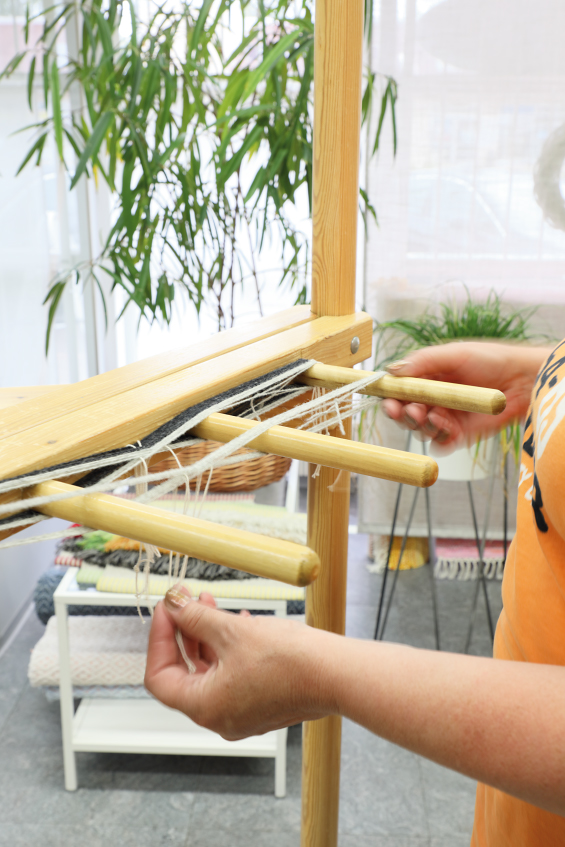
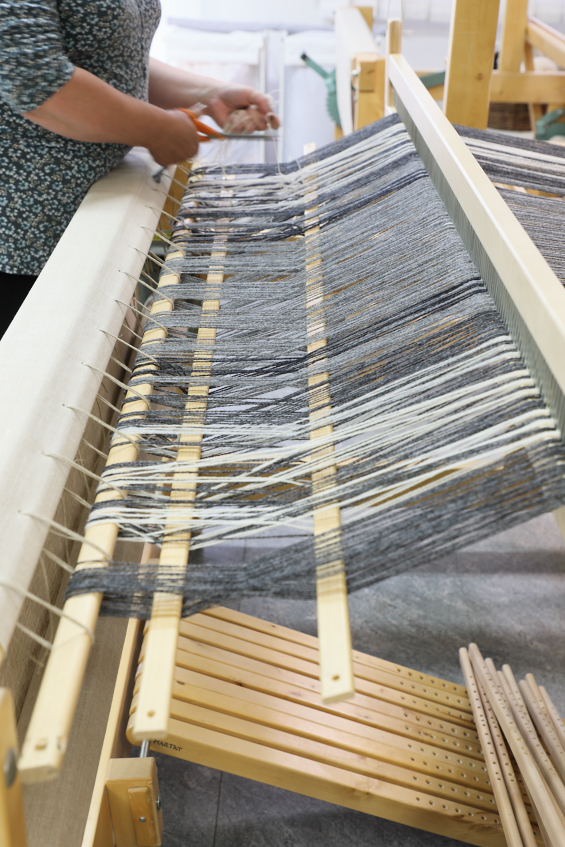
Why winding the stripes separately? Maarit had previously beamed warps, which consisted of separately wound warps for stripes and ground colour. The colour stripes are set in their correct places when the warp threads are spread in the raddle. This way, you still have a chance to change and modify the stripe composition. Besides, you can use up efficiently all the leftover yarns by using this technique. For this pattern, we wound separate warps for stripes and made a series of pictures of the process.
Try this technique and apply it to your projects!
| The Warp | Bio Shetland, 100% Organic Wool, GOTS 50 g = approx. 280 m, BC Garn |
| Warp | width 140 cm density 4 lankaa/cm number of warp ends 560 weigth 282 g |
| length | 2,8 m (1 scarf + a sample 20 cm) |
| Reed | 40/1 |
| Weave | Twill |
| Weft | Same yarn as the warp |
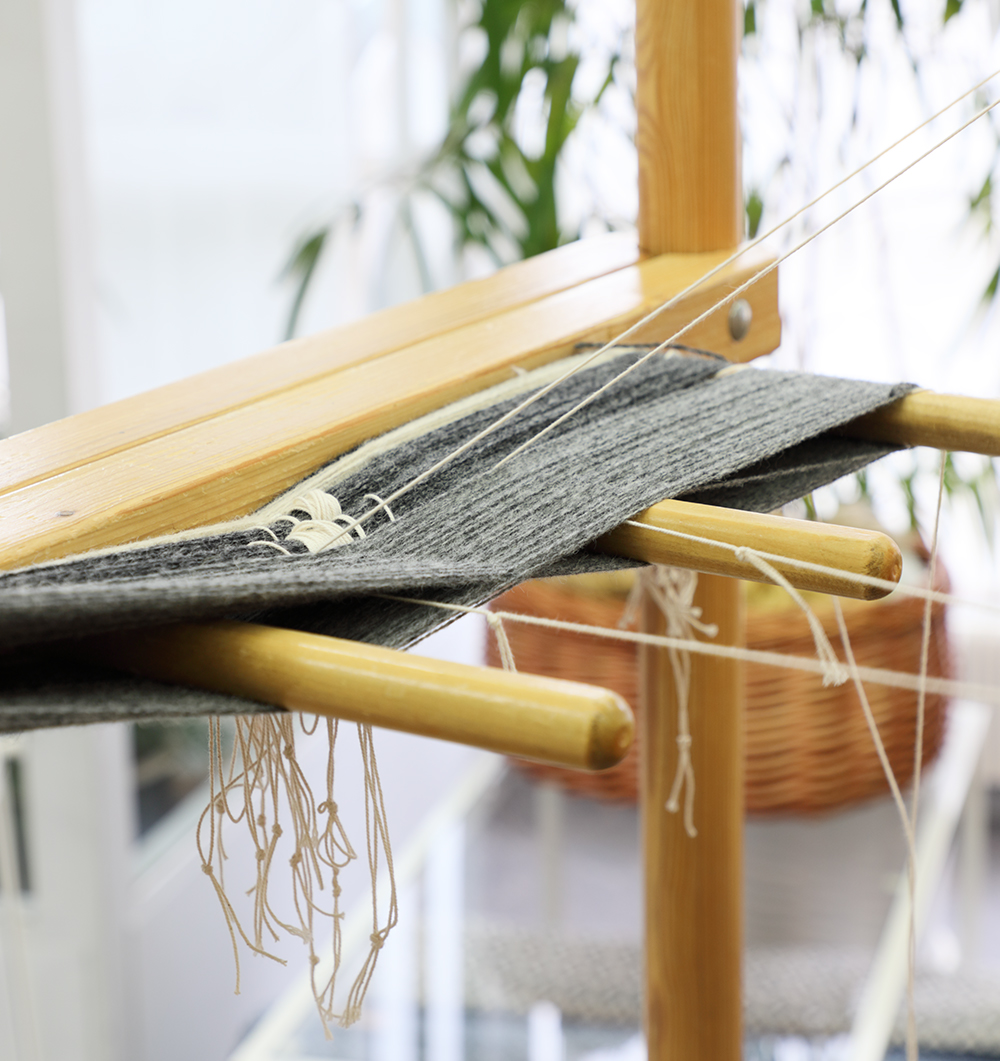
Separately wound warp stripes
A large square-shaped scarf has a similar stripe composition along the warp and weft. We planned roughly the stripe design before warping, but the stripes were placed to the correct slots when spreading in the raddle. When we sleyed the raddle, we made the final decision on how far from the edges the white stripes would be, how many ground coloured yarns are between the stripes, and where the black yarns are going to be placed. We wound individual warps for the ground colours and the stripe colours. The warp had symmetrical stripe design, so we wound two equal warps from each stripe colour to make handling easier. The grey ground colour in the middle was wound as a whole.
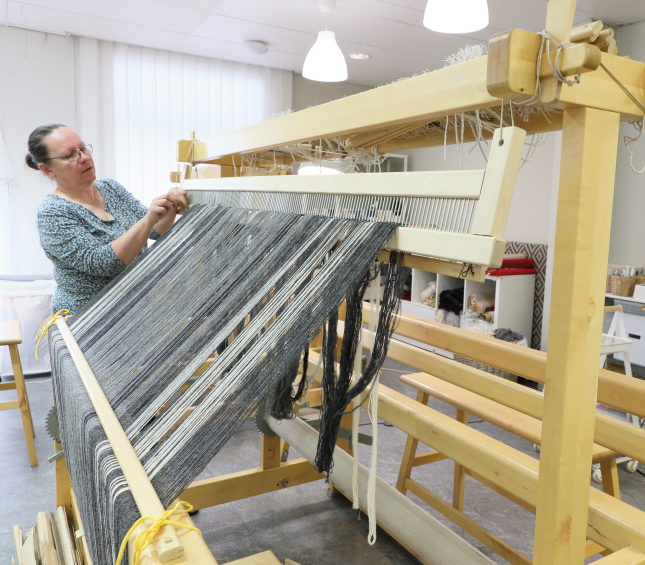
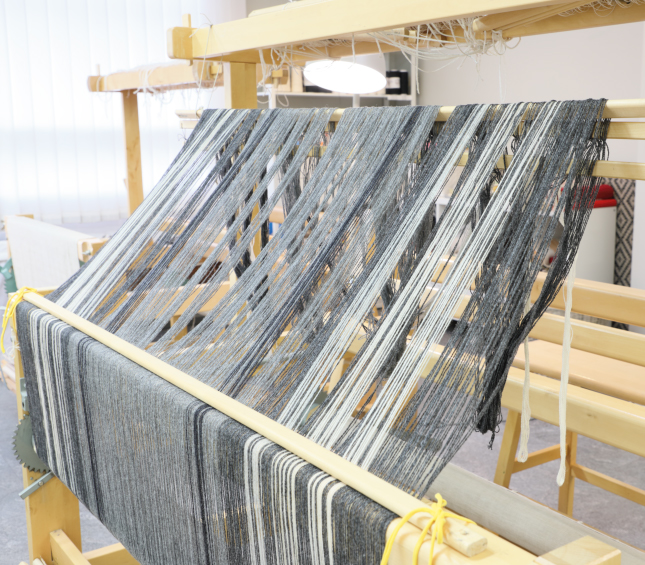
Instructions for winding the warp
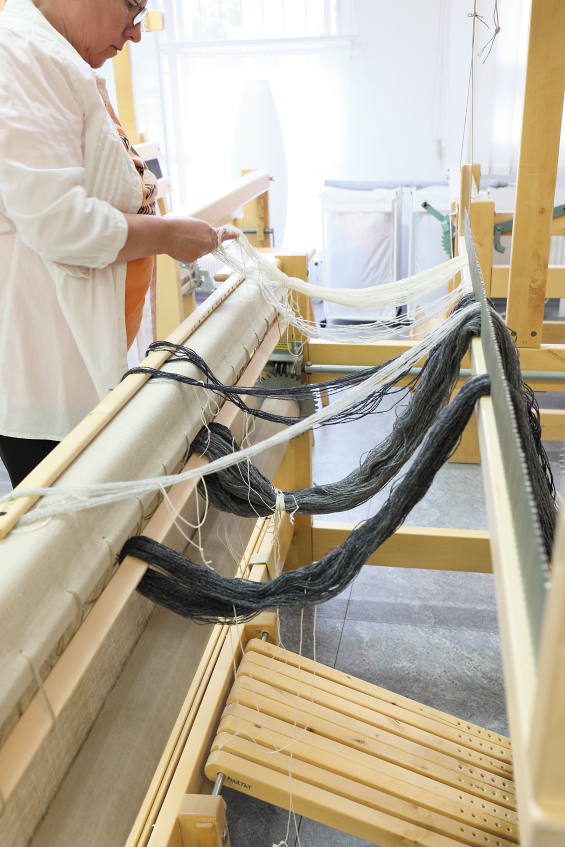
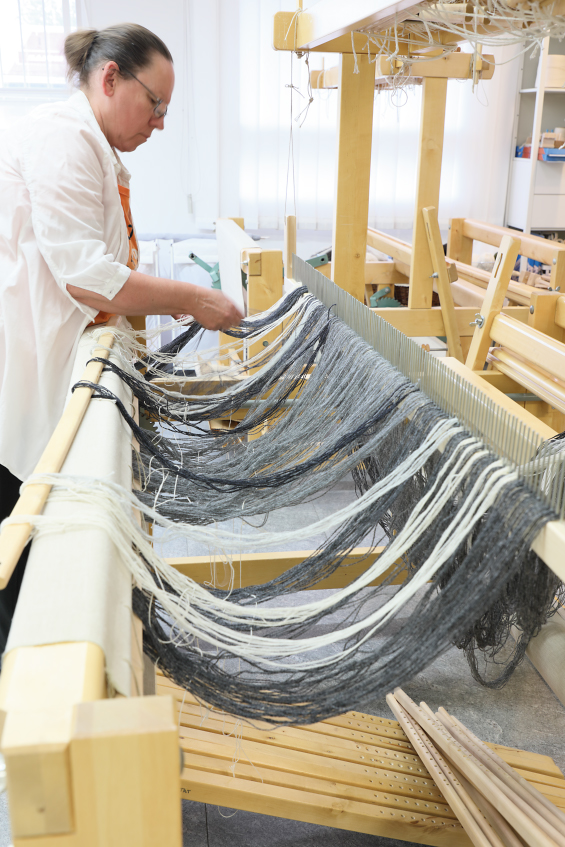
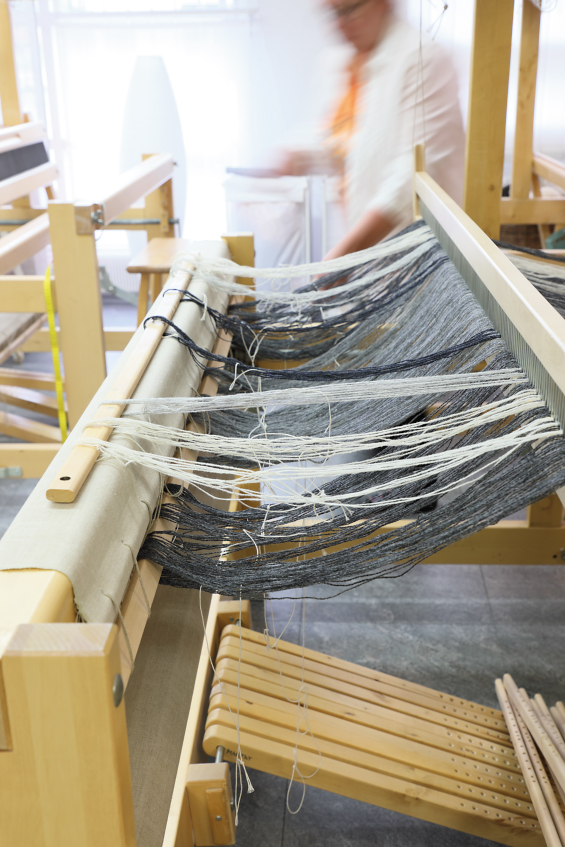
Warps of different colours are wound next to each other one after another, but the cross and end were tied individually to each warp. In this way, they can be handled as separate warps afterwards. We removed the warp from the warping mill by chaining all of the warps as one unit. See page 18 for more winding instructions.
Warps 11 pcs: Black 12 threads, black 12 threads, unbleached white 12 threads, unbleached white 12 threads, beige 12 threads, beige 12 threads, light grey 12 threads, light grey 12 threads, dark grey 116 threads, dark grey 116 threads, grey 232 threads. A total of 560 threads.
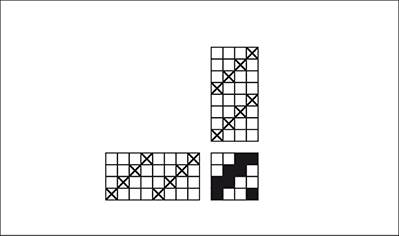
INSTRUCTIONS FOR WINDING THE WARP IN THE CONVENTIONAL WAY
40 threads slate gray
*
4 threads ecru / chalk / silver gray
4 threads slate gray
4 threads ecru / chalk / silver gray
4 threads slate gray
4 threads ecru / chalk / silver gray
12 threads slate gray
**
Repeat * – ** 3 times:
1. time ecru, 2. time chalk 3. time silver gray
16 threads slate gray
20 threads flanel gray
4 threads black
4 threads flanel gray
4 threads black
4 threads flanel gray
4 threads black
176 threads flanel gray = the middle
Wind the other edge of the warp as a mirror image.
560 threads in total
AMOUNT OF WARP YARN NEEDED, length 2,8 m
Bio Shetland, 100% Organic Wool GOTS, 50 g = approx. 280 m,
SH43 slate gray 117 g
SH42 flanel gray 117 g
SH45 graphite 12 g
SH41 silver gray 12 g
SH40 chalk 12 g
SH39 ecru 12 g
282 g in total
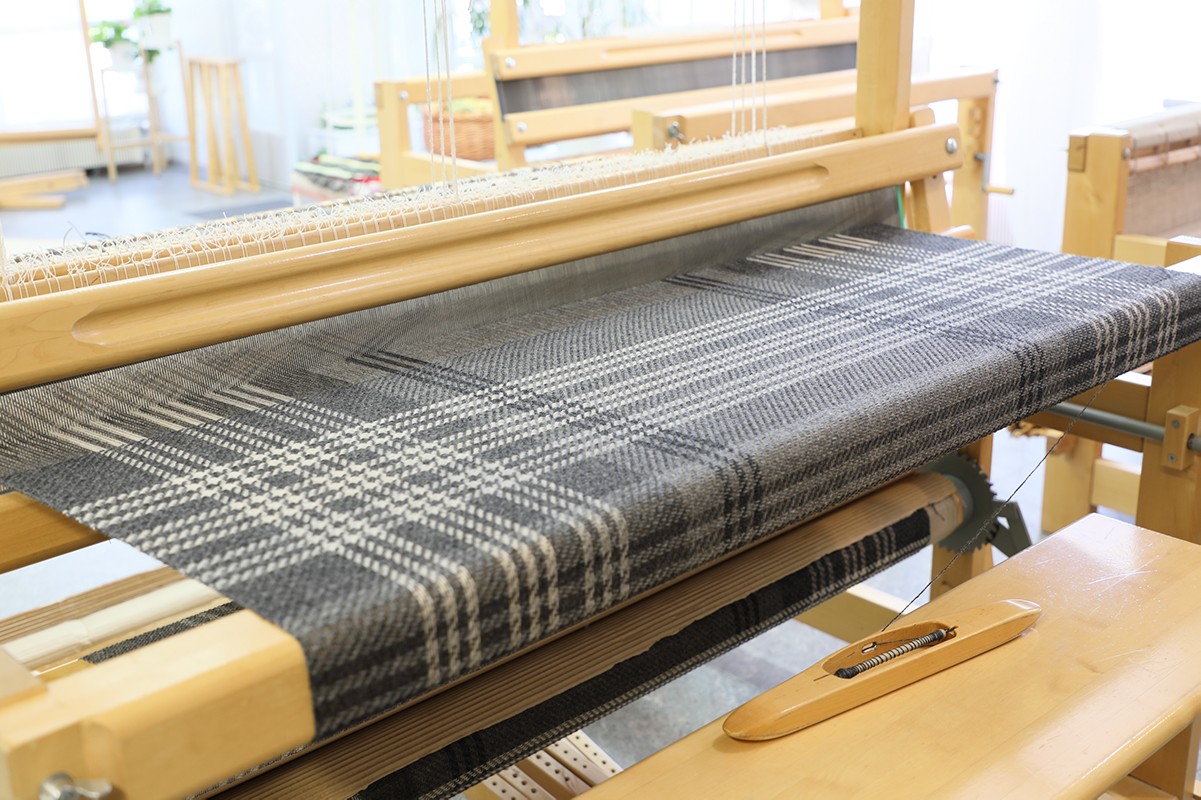
Weaving instructions
Leave approx. 13 cm length for the fringe. Weave the scarf using the same stripe composition as the warp has. When you change the colour or the weft, thin the ends of the yarns. The sett is 4 picks per cm. The scarf will become square-shaped when there are the same number of picks and ends per cm. The woven length is 157 cm, measured under tension on the loom.
AMOUNT OF WEFT YARN NEEDE for one scarf
Bio Shetland, 100% Organic Wool GOTS,
50 g = approx. 280 m, BC Garn
SH43 slate gray 70 g
SH42 flanel gray 70 g
SH45 graphite 7 g
SH41 silver gray 7 g
SH40 chalk 7 g
SH39 ecru 7 g
168 g in total
Finishing
Tie the fringe with overhand knots. Cut the fringe to an even length. Wash by hand in lukewarm water with wool detergent. Let it dry on a flat surface. Steam the scarf and the fringe as well! Cut the fringe to an even length once more, to make it extra neat.
Separately wound warp stripes
The warp is beamed through the lease sticks, in which case the cross and the end of the warp needs to be tied only in the other end of the warp. Start chaining the warp from the end without ties. All the warps can be chained as one whole warp at the same time.